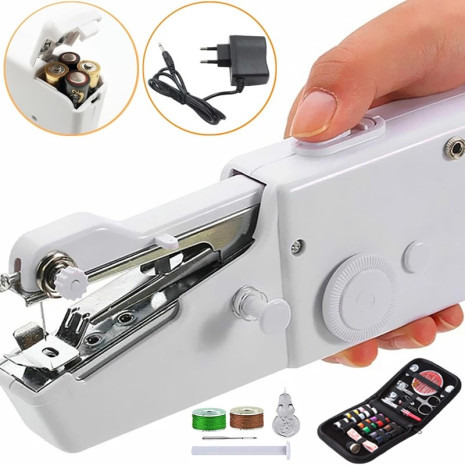
Small Sewing Machine Portable Manual Mini Sewing Machine Household Needlework Cordless Handwork Tools Accessories
- 140 reviews
- 1252 Sold
Customer Reviews
*Note: Some reviews have been processed by Google Translate!Type: Mini Sewing Machine
Stitch Formation: Chain Stitch
Max. Sewing Thickness: 1.8MM
Mechanical Configuration: Flat-Bed
Weight: 0.4kg
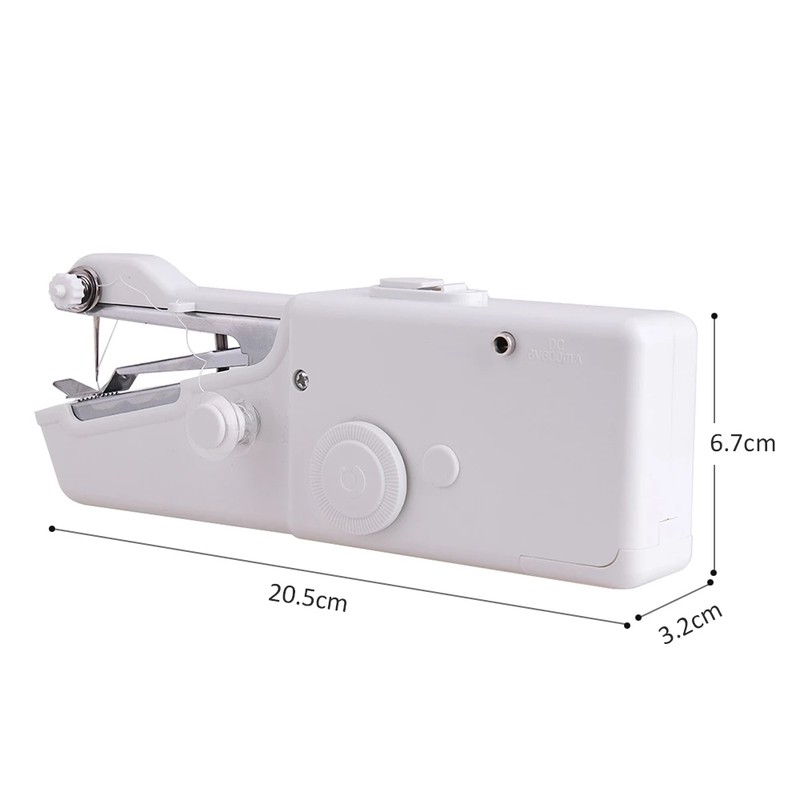
Overall Dimensions: 20.5cm*6.7cm*3.2cm
Condition: New
Model Number: small sewing machine
Feed Mechanism: Manual
Sewing Machine: Small Sewing Machine
Mini Sewing Machine: handheld sewing machine
Feature1: Hand held electric sewing machine
Feature2: Mini electric sewing machine
Feature3: Electric portable sewing machine
Limited time event
Packages A and D come with a USB power cord for a limited time, which can be connected to mobile phone charging plugs and mobile power supplies.
It is more convenient to use, and the sewing machine can work without a battery
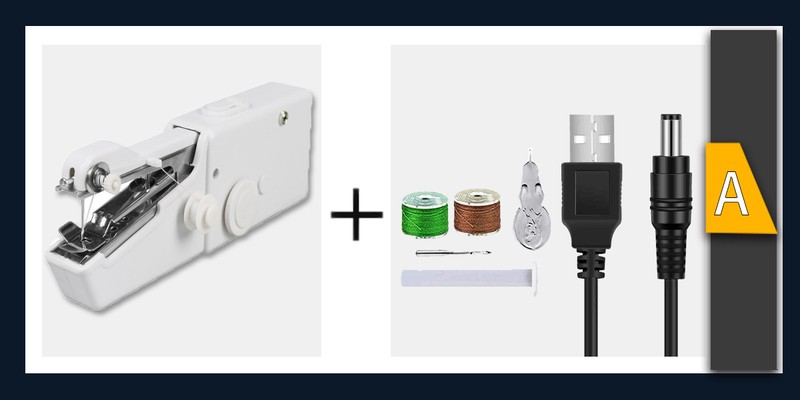
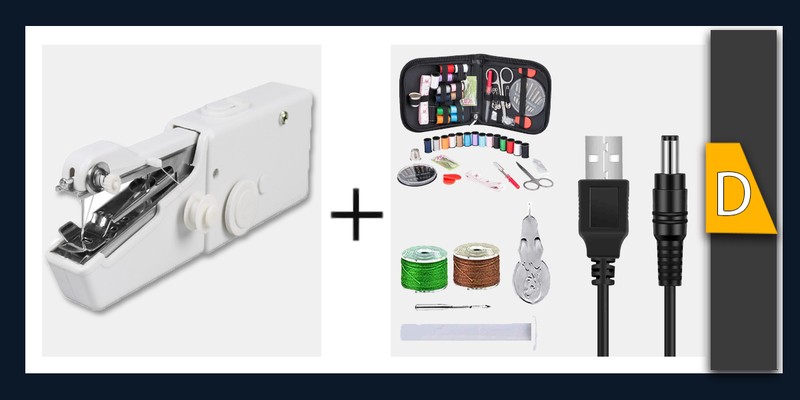
Portable Sewing Machine
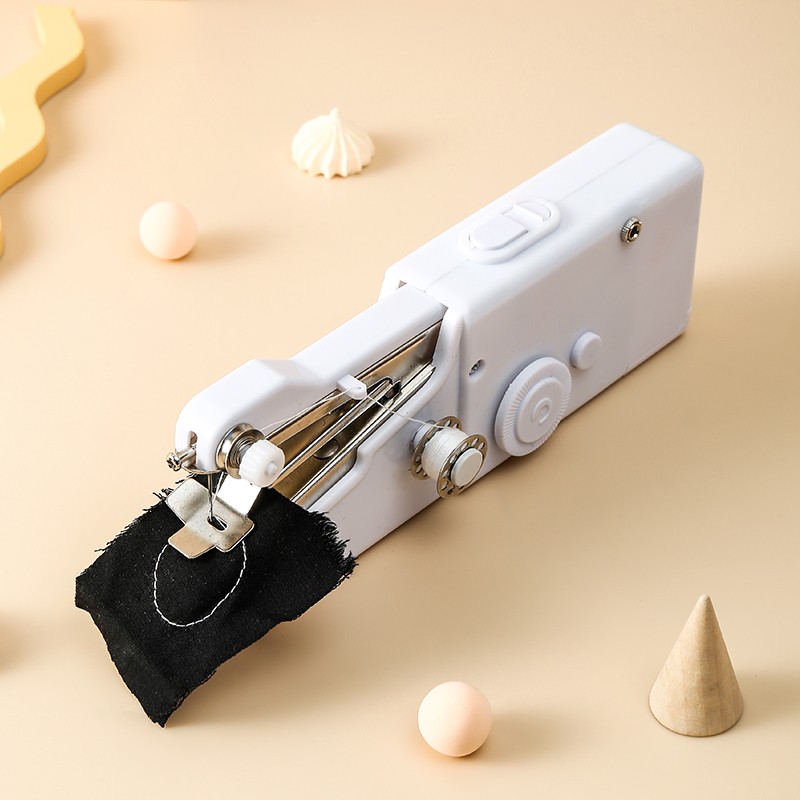
Ideal for beginners and novice, Pre-threaded and ready to use, Can be used at home, in the office, car etc.
Operating Steps
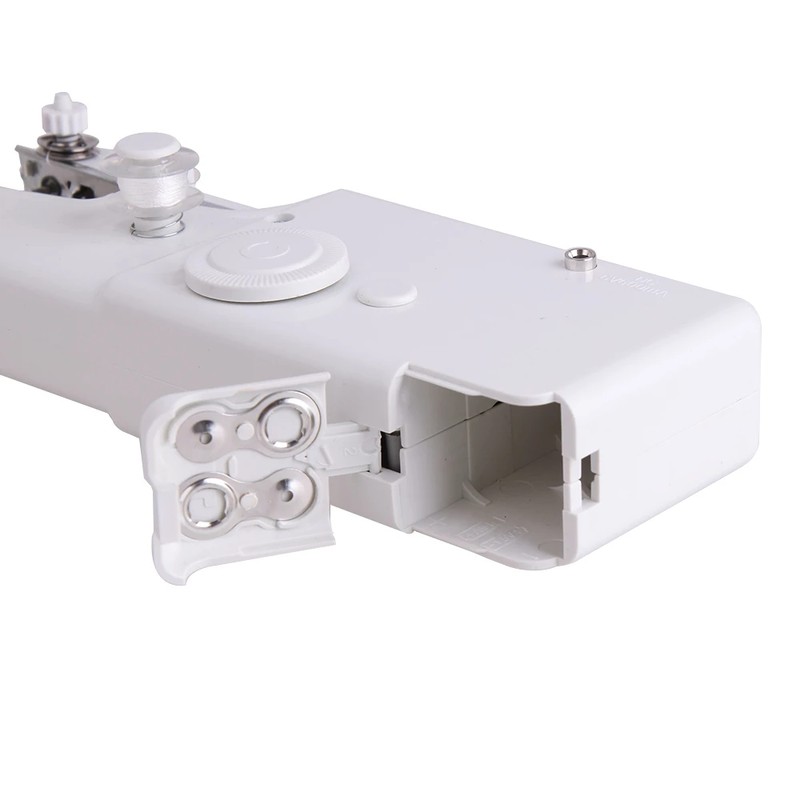
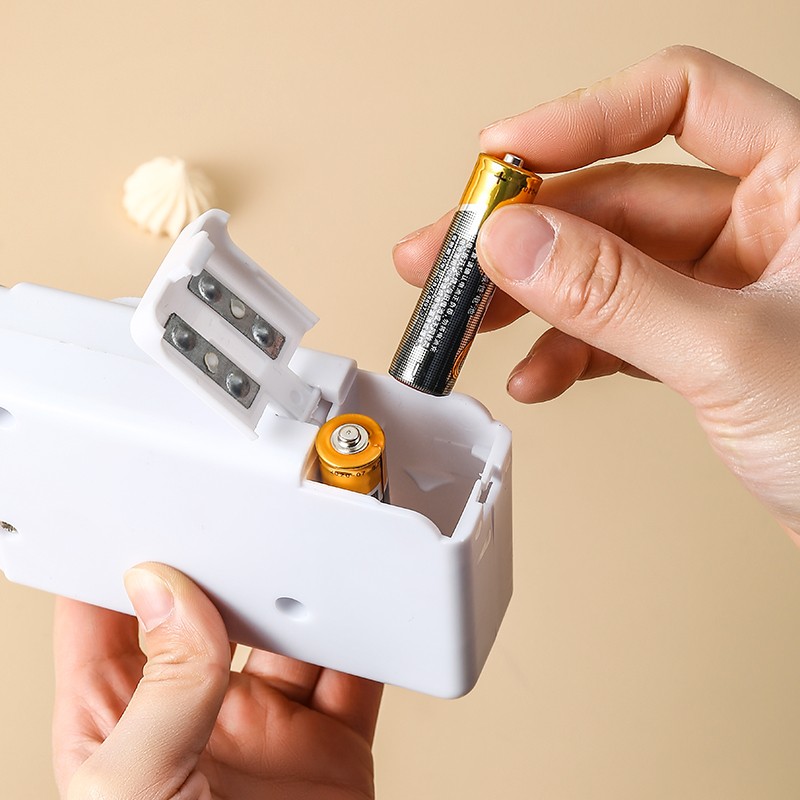
1.Install 4 AA batteries or use adaptor(Can't mix the battery with different brand or mix the old battery with new battery)
2.Installation line, place the cloth
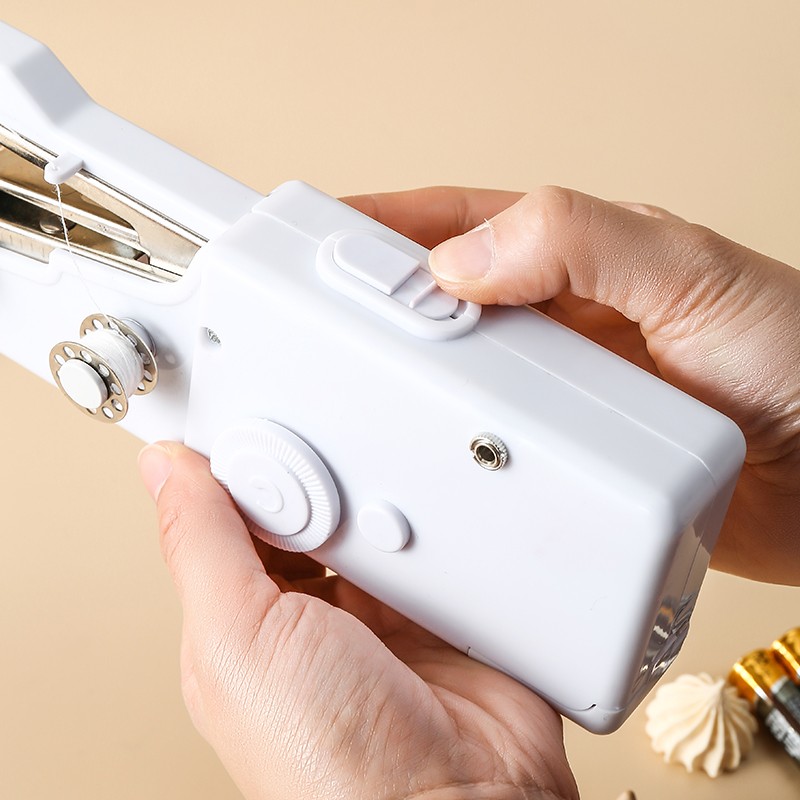
3.Hold the fabric with the left hand, gently press the right thumb gently, the mechine will automatically send the object to the left.The right hand does not move, let the machine feed itself, and the left hand controls the direction of the cloth.Stitch the line until the end of sewing, it can automatically feed and adjust the tightness between the stitches.
4.Knot: The Single Stitch, so you have to Tie A Knot by yourself. 5.Change the line group: Pull out directly, be careful not to drop the spring.For example, if you change the large line group, you can connect the spare extension rod to the spool shaft and insert the large thread group.Then re-thread the thread and adjust the tension of the thread.Sewing. 6.Change the needle: Loosen the fixing screw, install a new needle.
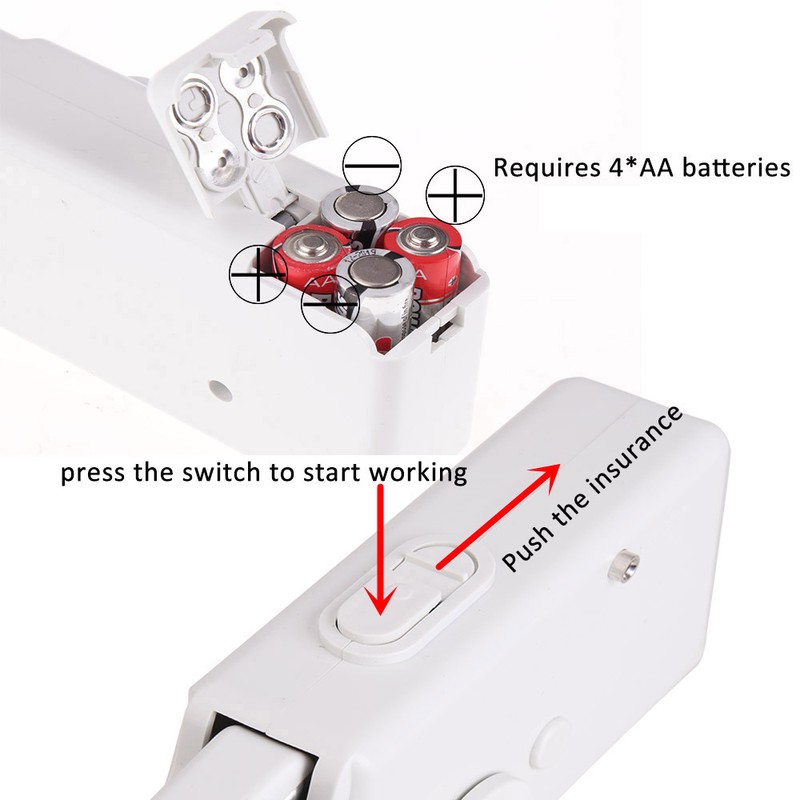
NOTE:This product does not contain batteries.
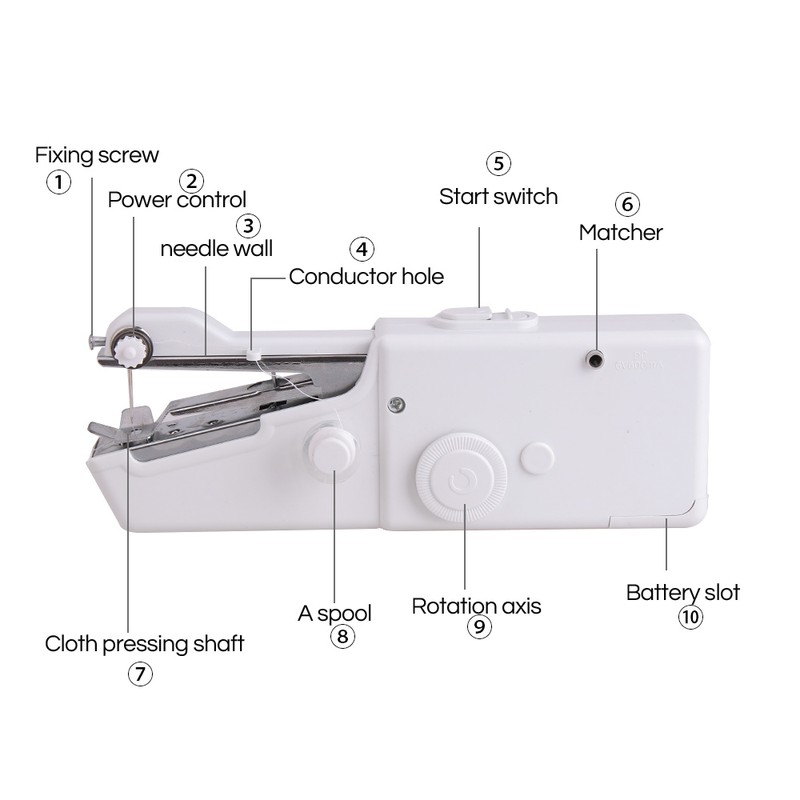
Function button introduction
①Fixing screw ②Power control
③needle wall ④Conductor hole
⑤start switch ⑥matcher
⑦cloth pressing shaft ⑧a spool
⑨rotation axis ⑩battery slot
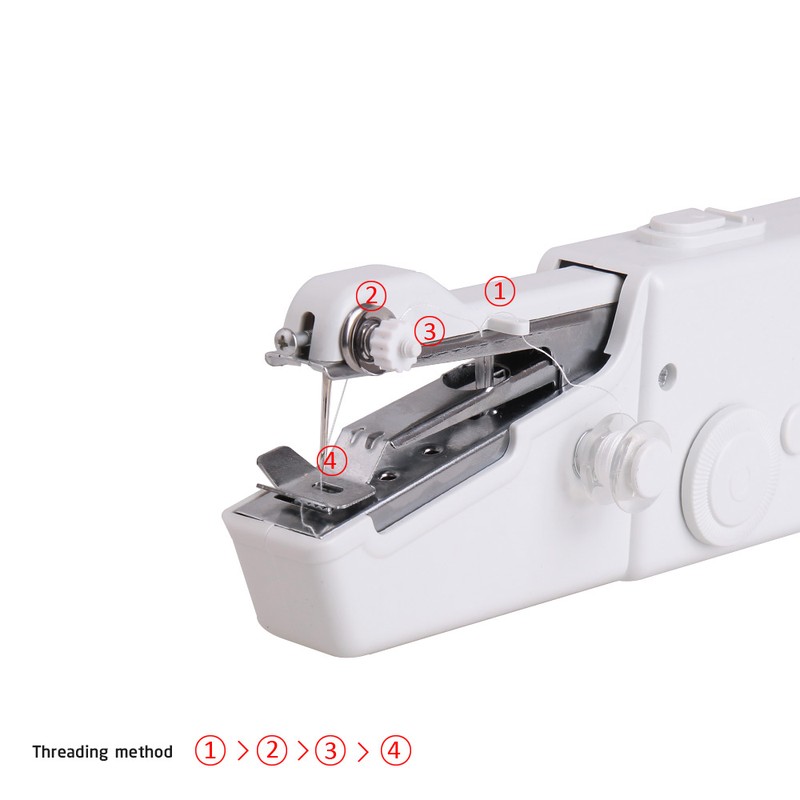
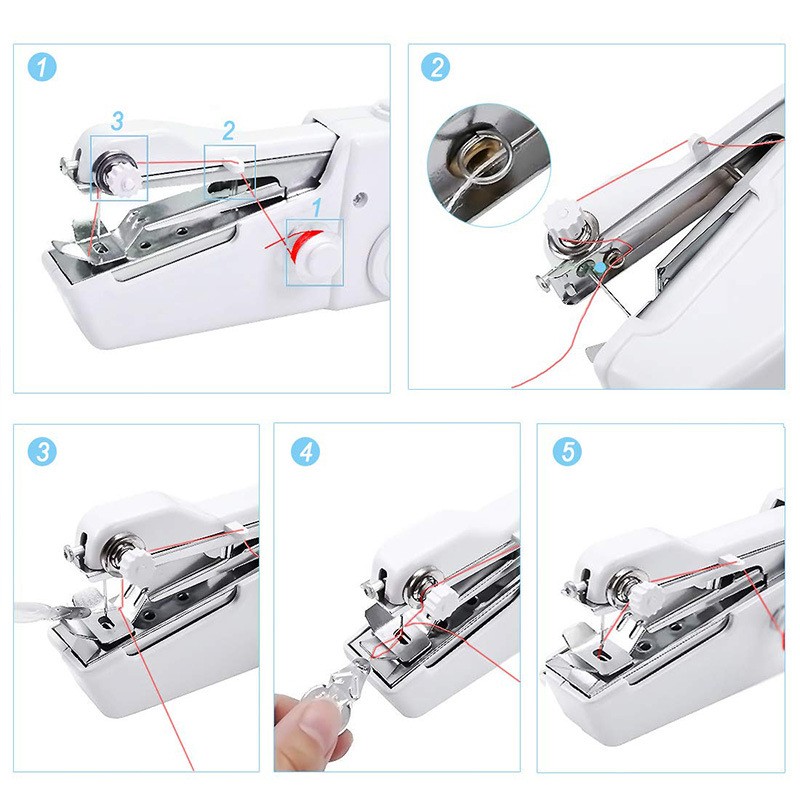
Threading method
Threading sequence:①→②→③→④→⑤
Product Size
Use Scene Display
68PCS Sewing Kit DIY


