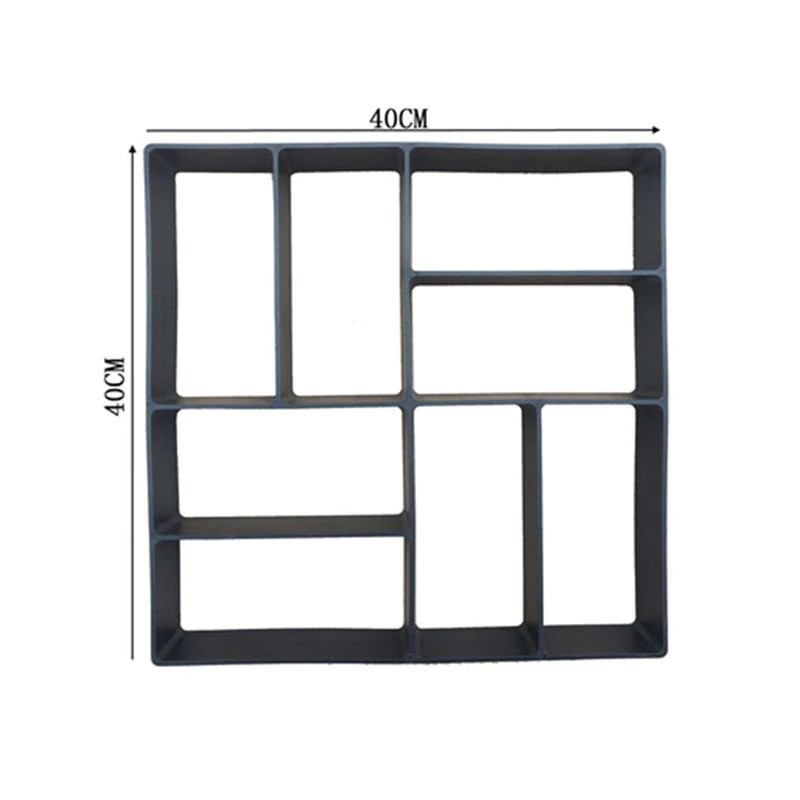
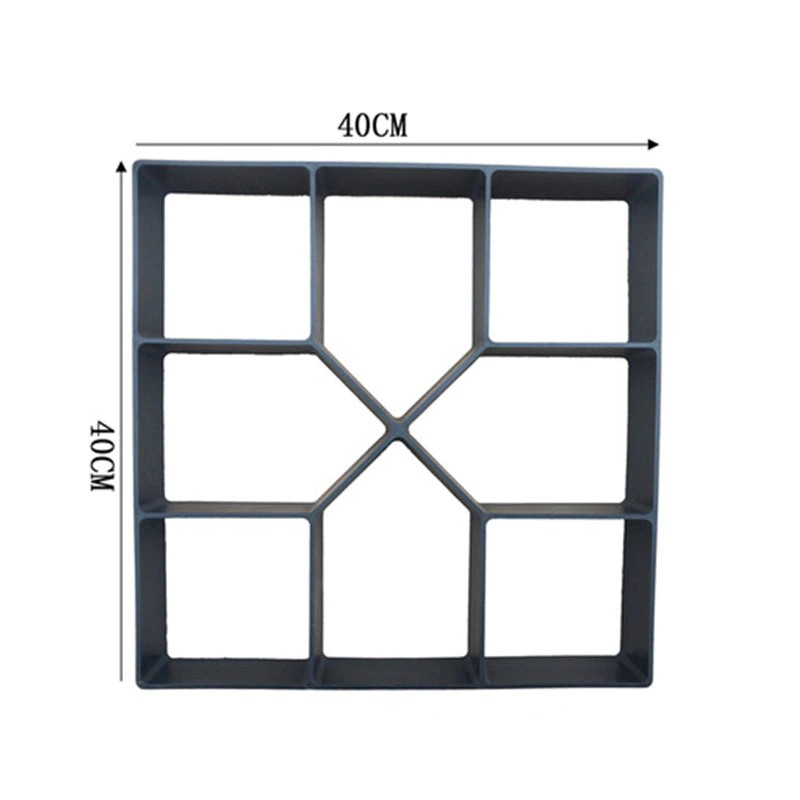
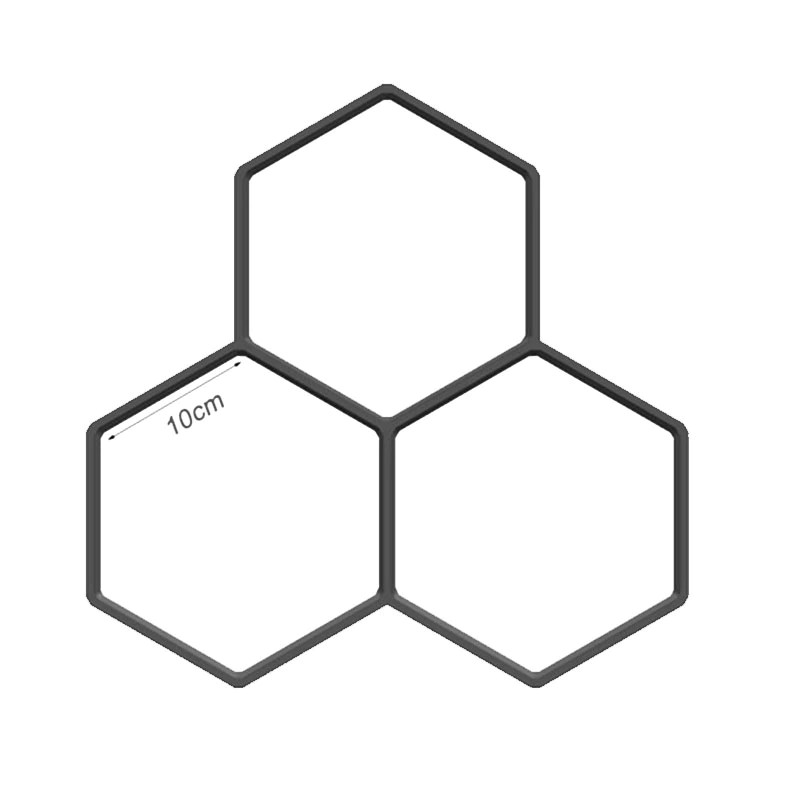
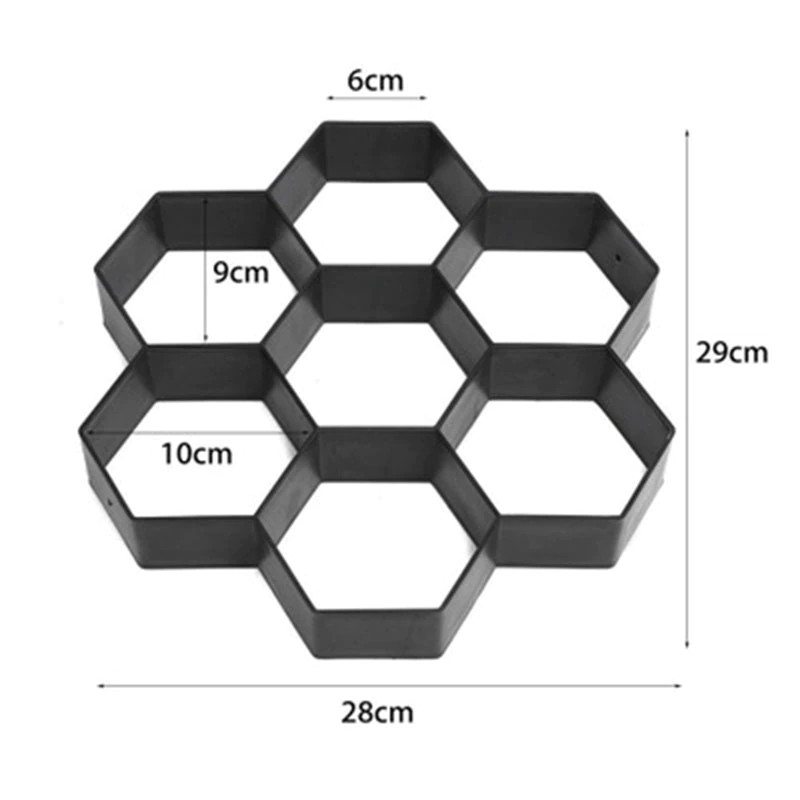
8 Types Diy Walk Pavement Mold Reusable Walk Maker Decoration Paving Cement Brick Stone Road Molds
- 34 reviews
- 149 Sold
Customer Reviews
*Note: Some reviews have been processed by Google Translate!Material: Plastic
Feature1: Mold for tile
Feature2: molds for gypsum and concrete
Feature3: concrete molds
Feature4: snow shape
Feature5: plastic molds for cement
Feature6: concrete trowel
Description:
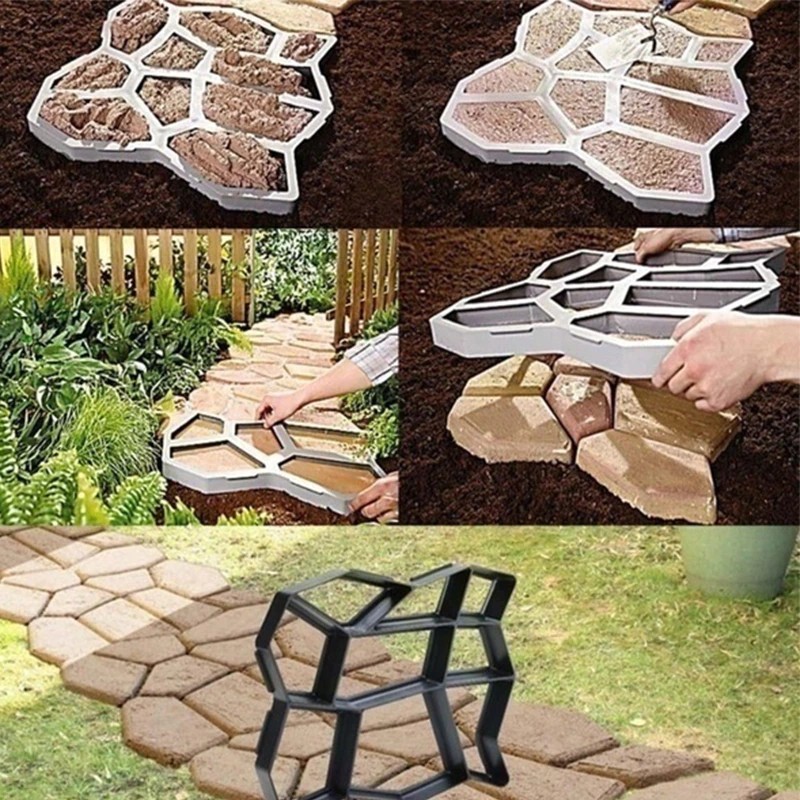
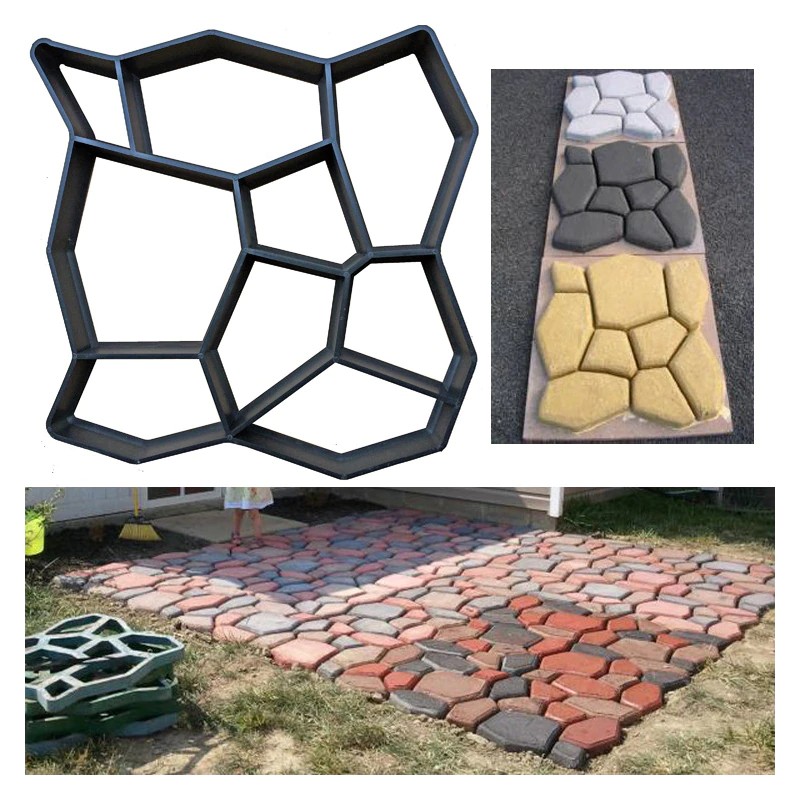
Garden Walk Pavement Mold ,laying out the effect posted up like blocks of stones
DIY plastic molded paving mold is spread in Europe and America, is a personalized brick mold
Product details:
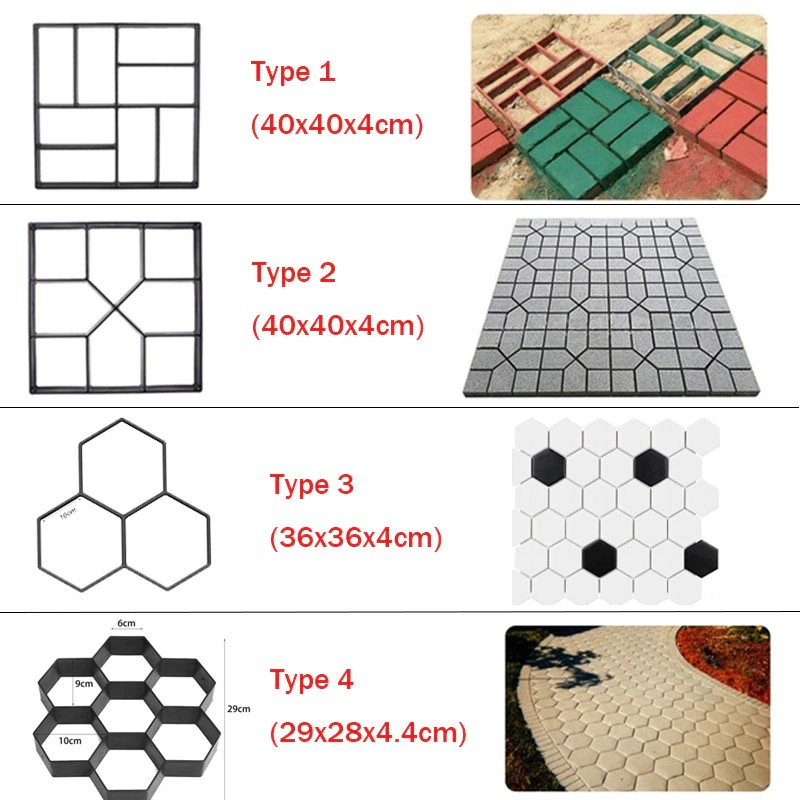
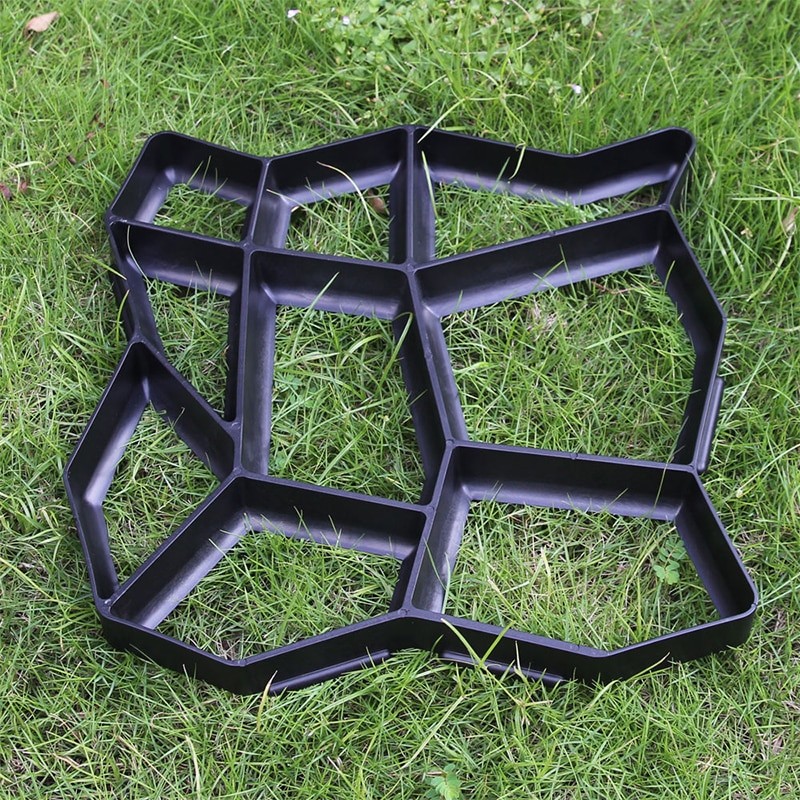
Name: Plastic Manually Path Paving Molds
Color: Black
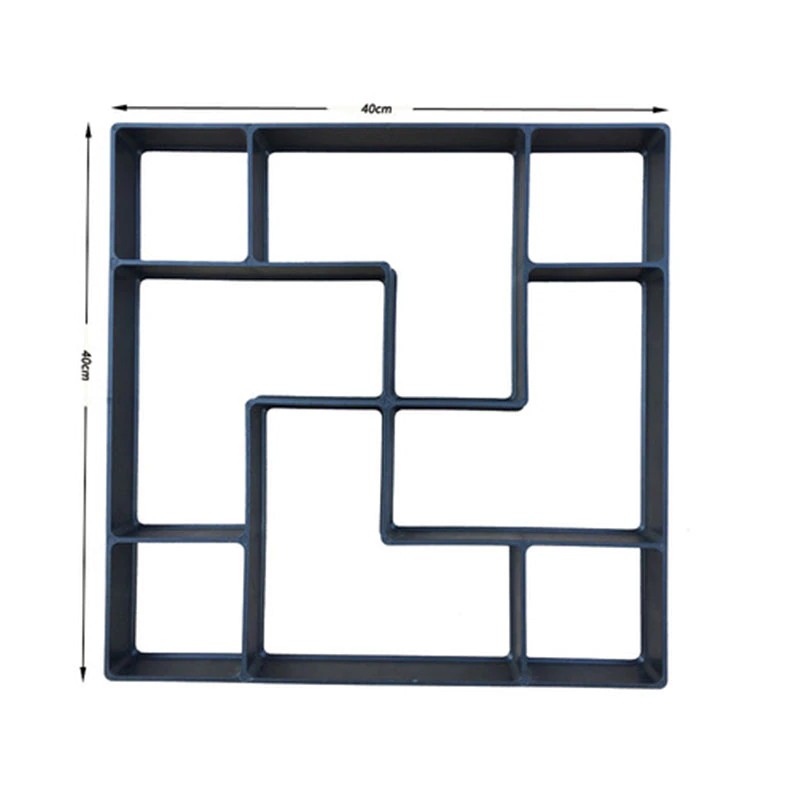
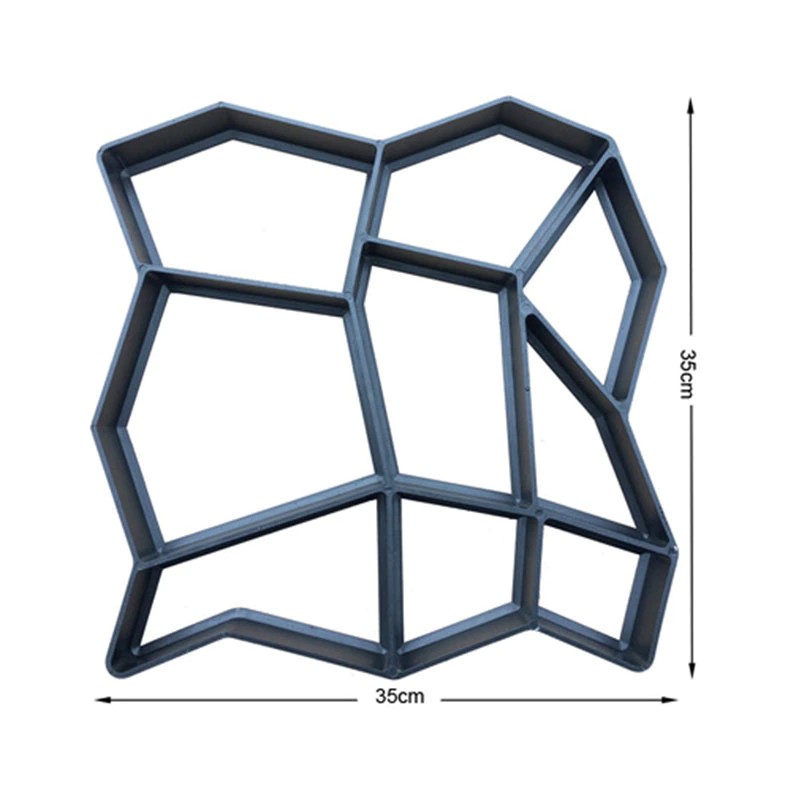
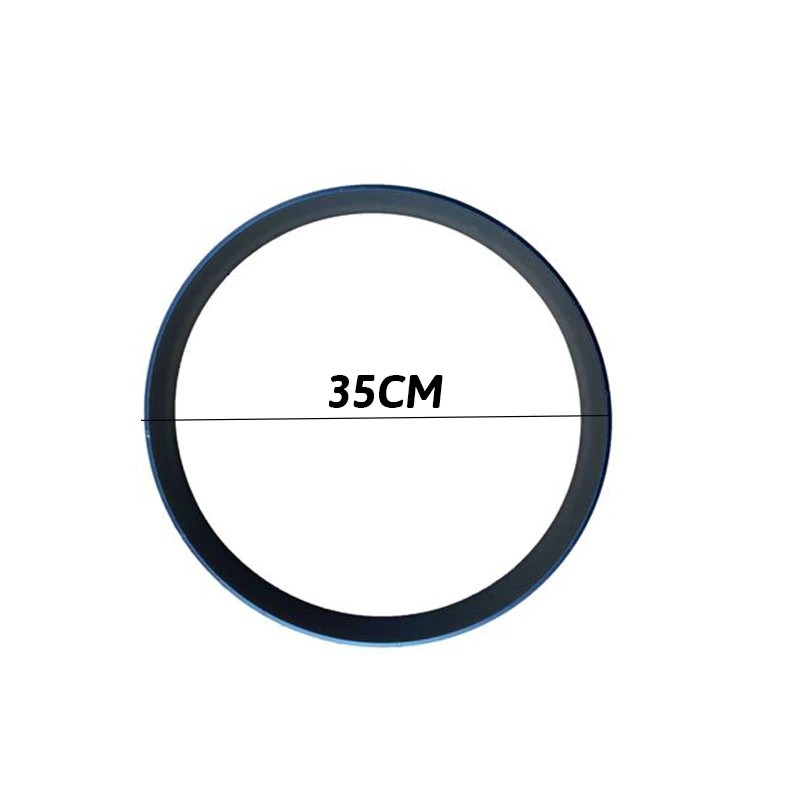
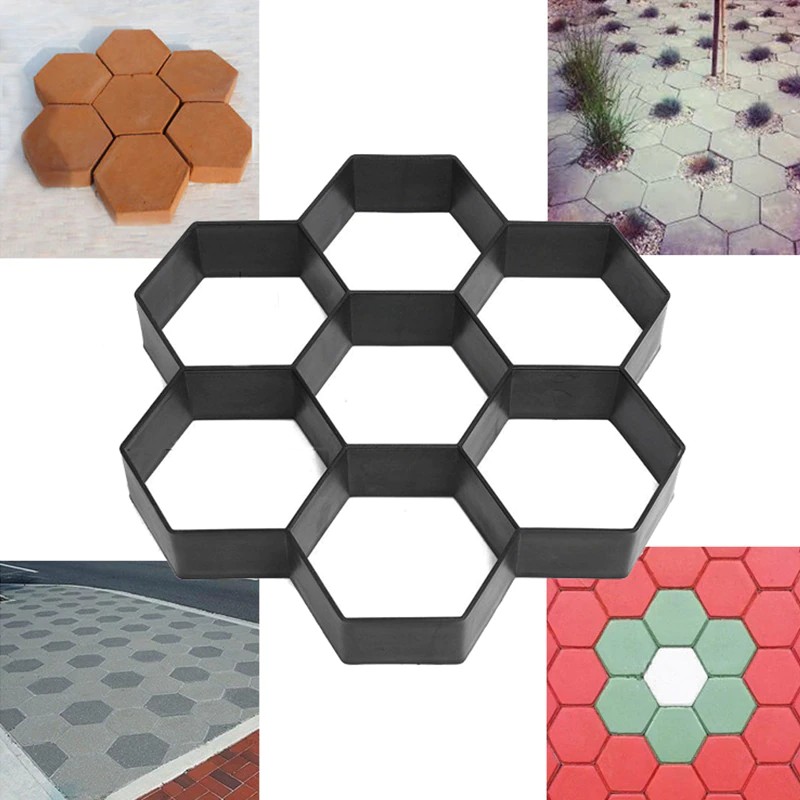
Model: Type 1,Type 2,Type 3,Type 4,Type 5,Type 6,Type 7,Type 8
Paving molds: Concrete molds for garden
Form for concrete: Garden path maker mold
Thickness: about 3.8cm ~ 4cm
Packing include:
1 Pc x Plastic Manually Path Paving Molds
Features:
1. Very practical garden tools - Concrete garden molds will help you decorate your backyard landscape.
2. Use heavy-duty plastic molds to turn some pre-mixed concrete into concrete garden stepping stones for easy access to the garden.
3. By using garden stepping stones as your path, the beauty and health of your plants.
4. Spray the cleaning mold with a garden hose for reuse.
5. Once the first garden stepping stone is watered, the garden stone mold can be used again.
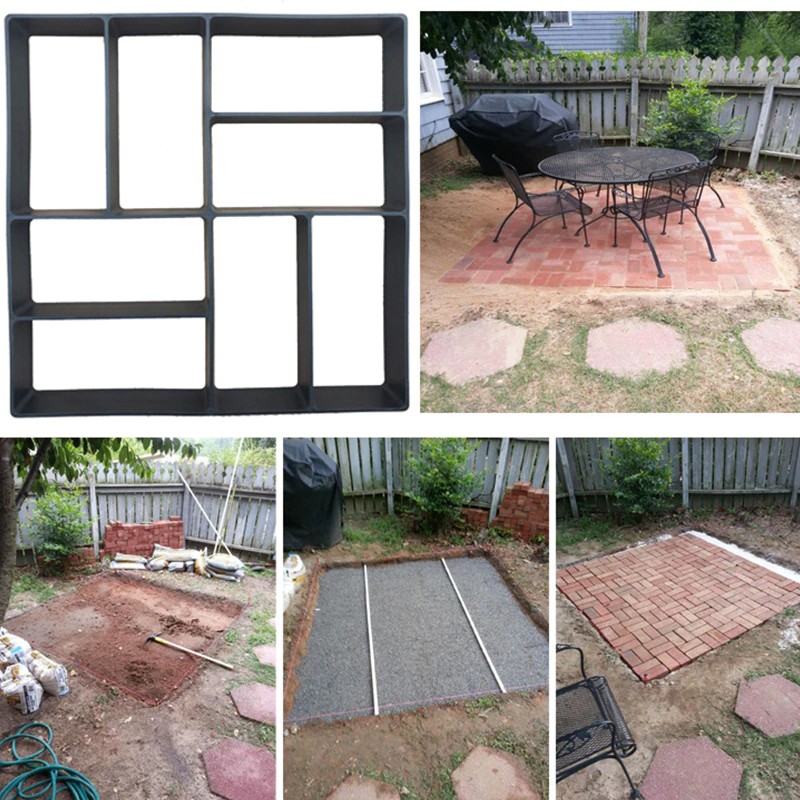
6. Ideal for creating sidewalks, sidewalks, trails, terraces, picnic areas and other outdoor finishes.
7. Enjoy DIY's personal philosophy with stone molds and create beautiful paths in your garden right away.
8. DIY plastic molding paving mold is a personalized brick mold, the effect of laying is like a stone.
9. Make the path more exotic and create a style that belongs to your own garden path.
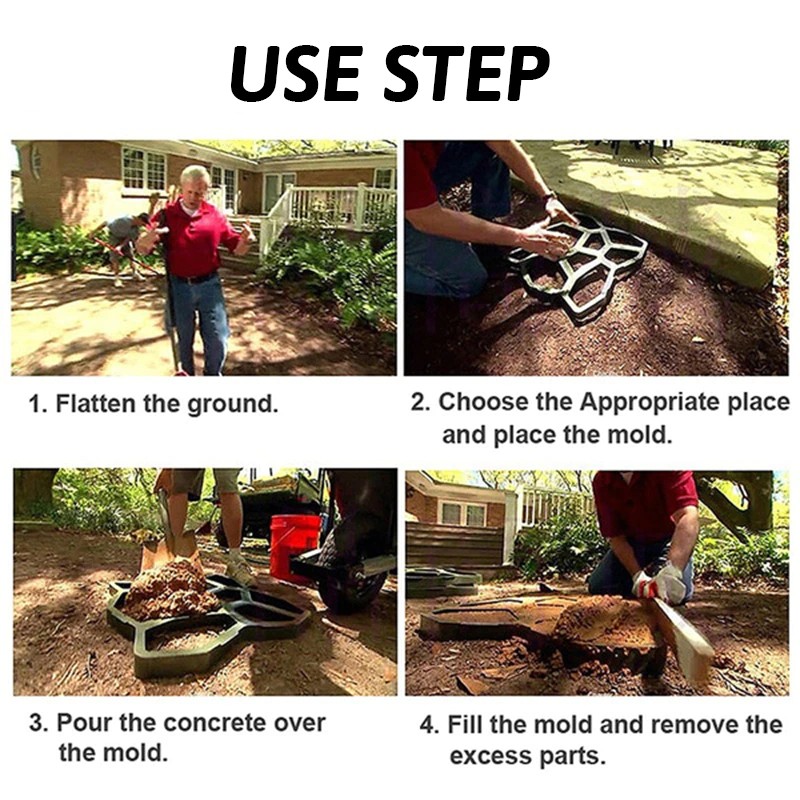
How to use this Concrete Paver Mold to build the pathways:
Step 1:
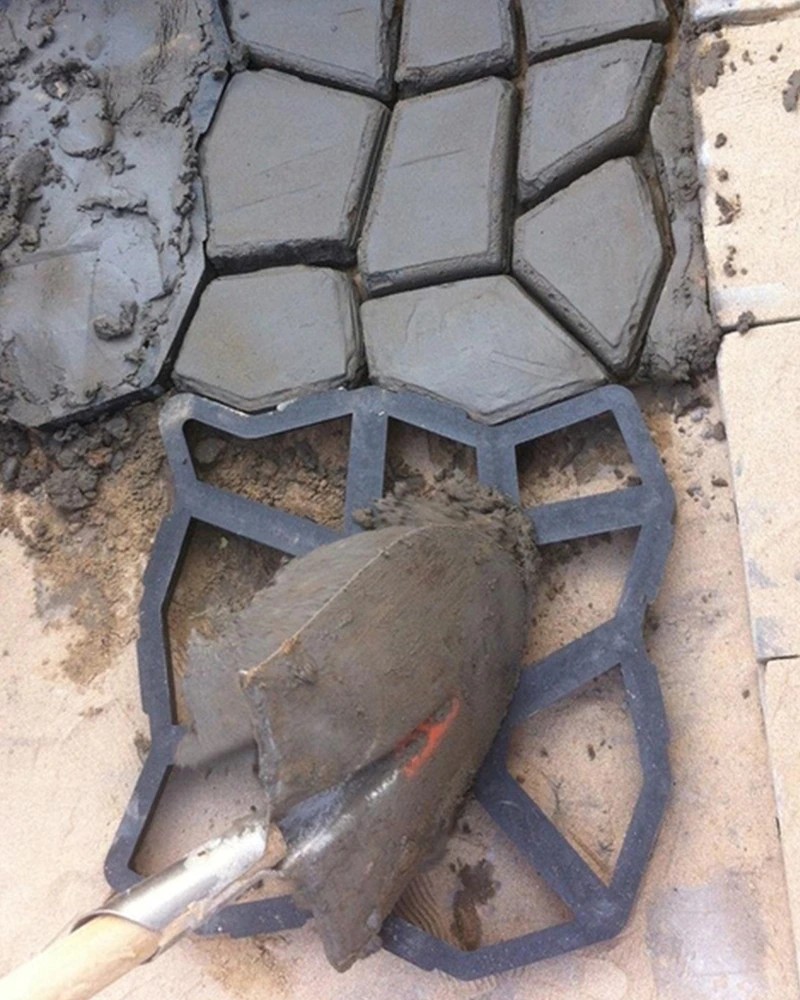
Mix cement with water, according to package directions. When ready to use, the concrete will be the consistency of oatmeal and thick enough to hold an edge when you slice into it with a shovel.
Step 2:
Fill the paver mold, scooping the concrete in with a shovel and making sure to fill each area.
Step 3:
Using rubber gloves, spread the concrete around the mold, filling in any gaps or low points. Tap the mold with your hand to eliminate any air bubbles.
Step 4:
Following the contours of the mold, smooth out the concrete, wiping away any excess.
Step 5:
Allow the concrete to set for a maximum of five minutes, then carefully remove the mold. For the next stretch, rotate the mold a quarter-turn and place it beside the paver just completed, angling slightly if you're creating a curving pathway.
Step 6:
After letting the concrete cure overnight, fill the cracks with dirt and wash away any excess. Wet the ground around the newly formed pavers to help them settle


